One of the most herculean tasks for anyone who is venturing to digital marketing is building a website. Obviously, without website, digital marketing is nothing. Are you looking to build your own website? If yes, then the thought of building a website might have scared you if you’re not a techy. Don’t get fret! You have landed on a right place.
Here in this blog, I have decided to create the most detailed step-by-step guide to make a SEO friendly website on WordPress. So, this guide is helpful for all novices as well as experienced one.

Before I start explaining the steps, let me just highlight some points needed before website creation, which are:
- Domain name – the name of your site like (citiesagencies.com)
- WordPress hosting – where your website files are stored almost like SD card or Google docs.
Without much ado, let’s start!
Follow the given steps to build website on WordPress
Just continue read and follow the given steps to build your own website by giving a professional look to it:
Step 1- Get a domain name for your website
The very first step you have to follow here is to get a domain name for your website. For example, citiesagencies.com. Domain name helps people find your website on Google. Well, this is very easy process just go to domain site like GoDaddy or Domain.com then search the name you want, if the name is available then move ahead to buy it. Some of the good options you can go with are:
- .com
- .net
- .org
For particular country name you can go with:
- .us
- .co.uk
- .in
You can also research more for other options available.
Step 2 – Make your site go live with hosting provider
Yes guys, unless you give your website space or room on internet, it won’t be visible or make live presence across web. You have to give your website a virtual plat. Well, you can go with hostinger as it provides hosting to sites at reasonable price. However, you’ll have two options to choose from .i.e. shared hosting and dedicated hosting.
If you’re a large business then dedicated hosting is good option available to you otherwise you may go with shared hosting as well. The prices vary as per hosting plans.
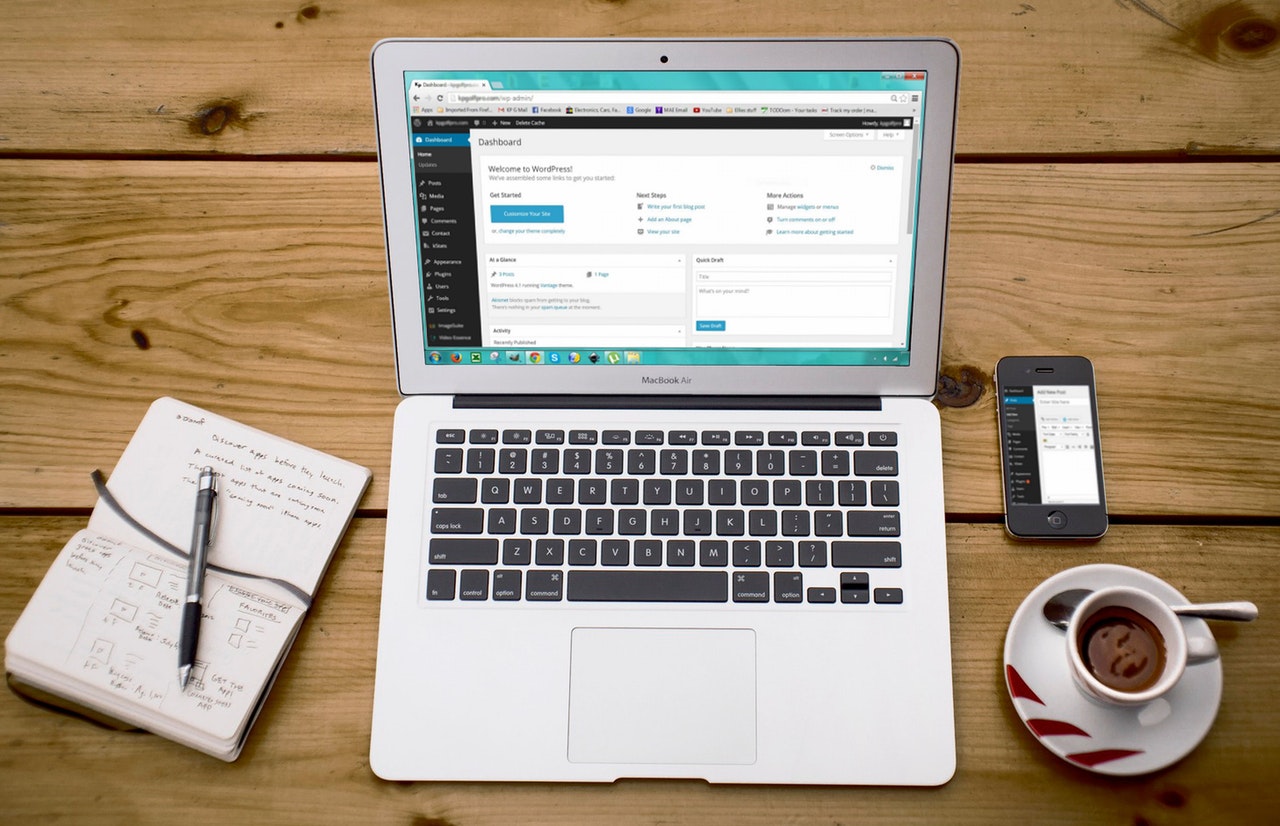
Step 3 – It’s time to install WordPress
Now that you’re done with buying domain name and hosting, just hit the install button and download WordPress. Let me tell you that installation can be one click or manual depending on which site you’re installing from. Well, installing isn’t a herculean task, you can easily download it. Not to worry here!
Let’s move further and select the design for your website.
Step 4 – Choose theme for your website
Want to make over your WrdPress website? Just choose a theme that will help you visually appear your site on Google. There are thousands of free as well as paid themes available on your site. So, how will you download free theme on WordPress? Just follow the given points below:
- Go to your WordPress dmin dashboard
- Visit ‘Appearance’ then click on ‘Themes.’ From here you’ll go to theme dashboard
- Now click the botton saying ‘Add Theme.’ Here you’ll see popular theme sections title under ‘Features, ‘Popular’ etc. Just select the one which suits your business requirements.
- Before installing any theme, just look at the demo and see how it looks.
- After few minutes, you’ll get to see button saying ‘Activate’ just click on it.
To add paid theme, you can click on the premium theme section.
Step 5 – Fill your website with Content
Let me tell you that WordPress gives you 2 options to write conten
- Pages
This is static in nature which is used for pages such as About Us, Privacy Policy, Contact Page, Disclaimer, etc. These pages won’t change unless you edit them. If you want to add new page then go to pages > add new
- Posts
This page is what you’re reading right now. Yes, the blog page is called post. This is dynamic and chronological in nature. You can write content based on your niche and publish it on your website. But make sure you review the post before hitting the publish button.
Step 6 – Just customize your website
Now you’re done with adding template, theme, pages, and posts to your website, let’s move a step further. You have to customize your site to fulfill the needs. So, how will you customize the site? Here are various ways to do that just read them below:
- Set up static front page
- Alter site title and tagline
- Set up comment settings
- Create navigation menus
With these 4 points, you’ll be able to customize your website.
Step 7 – Install plugins to add features
What is plugin? A plugin is an extension that provides features and functionality to your website. Features that WordPress doesn’t have. Think plugin in a way of app some you get free and some you pay for. You can install plugins such as:
- Yoast SEO
- WooCommerce
- Contact form by WP forms
…and many more after searching on Google.
Step 8 – The bottom line
The last step is the conclusion of this article. Now with these steps, you’re done with building a professional website for your business. Congratulations! All the steps are essentials; you can’t think to ignore anyone of them. In case, you need help of any agency, you can take help of WordPress support, professionals will help you build website the way you want.
Also, you can get in touch with us if you got any query.